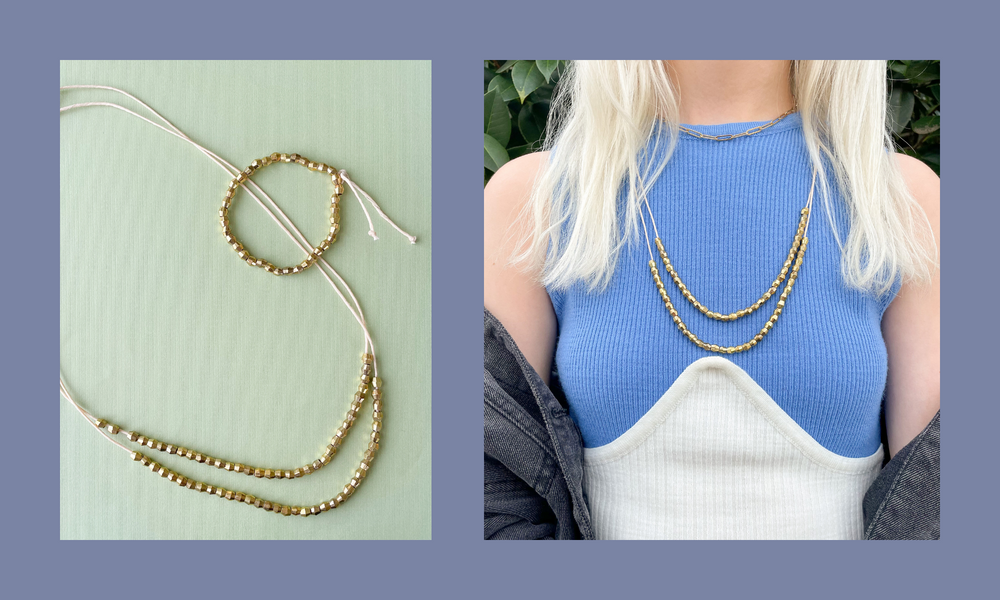

WHAT DO I NEED TO MAKE MY OWN?
- one strand of 5mm Gold Faceted Bicones or 5mm Brass Faceted Bicones
- one package of 1mm Natural Waxed Linen
- Designer Wire Cutter or scissors
STEP-BY-STEP INSTRUCTIONS FOR MAKING A FAUX-KNOTTED NECKLACE
STEP 1: CUT YOUR WAXED LINEN
These necklaces can be as long or as short as you like! Ours are approximately 24" necklaces, and we started with about 30" of waxed linen each. No tape measure? No problem. Measure out a segment of waxed linen on your body, and cut it based on where you want the necklace to fall. Add a few extra inches in for knotting, and keep in mind you'll want something you can pull over your head.
Your bracelet can be custom sized to you, too! Embrace the friendship bracelet vibes and have a friend help you tie it for a perfect fit directly on your wrist, or cut a segment of waxed linen large enough to go over your hand. Interested in making a clasp? Scroll down and check out our waxed linen kit walkthrough where we show you how to create a clasp with a bead for easy removal.
STEP 2: STRING YOUR BEADS
Once your segments are cut, simply string on the brass or gold bicone beads! Both necklaces have approximately 7" of beads, and have the ability to move freely throughout the necklace. Keep the beads in place by tying knots at either end of the beaded segment, if you desire. Scroll down for more info on that.
STEP 3: TIE OFF YOUR NECKLACES + BRACELET
Here's what's great about waxed linen: you don't need crimps, clasps, or even glue. Finish off your new chic pieces just by creating overhand knots. For the necklaces, double check the lengths, and use and overhand technique to create a double knot, cutting off excess. If you have some super new glue lying around it certainly won't hurt, but the waxed linen is just fine without it!
For your bracelet, you can create the same type of knot, or you can make it a little more decorative, which is what we did. Once you are happy with the length, choose one end of your waxed linen and string it through the last bead on the opposing side. Gently pull both ends of the waxed linen, now pulling away from each other, to secure the beads and see the bracelet take shape. Use both ends to tie a double knot on top of the bead both ends are running through. Leave the tails as long as you like or cut them short. We left ours long and tied single knots at approximately 2" down the tail before trimming. This leaves us with decorative and secured ends to our bracelet.
For more classic closure options, check out our video below featuring our waxed linen necklace making kits, where we use beads to create easy-to-remove necklaces. Click the embedded video below or learn more here.
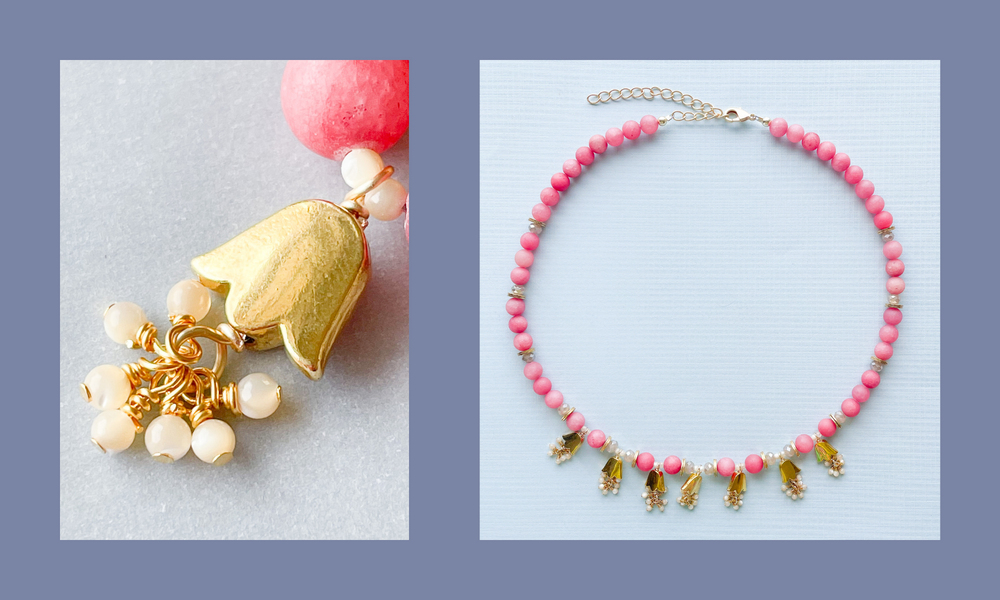
This project is part of our Luxe Garden collection. Find yourself in a wonderland of earthy goodness and budding baubley bits. With simple statement pieces and must-haves to match your favorite ditsy floral, you just can't go wrong. Browse the entire edit by clicking here.

Check out all of our DIY beaded jewelry projects from beadalon necklaces to stretchy bracelets, wire-wrapped earrings to silk knotted semiprecious stone, tips and tricks, and more, on beadsinc.com, our Instagram @beadsinccharlotte and our YouTube channel.