
getting comfortable with wire is a must for anyone creating their own jewelry or working with jewelry. wire-wrapping is a technique that refers to using jewelry wire to create an attachment in order to connect a bead, charm, or object, to another bead, charm, or object, chain, or other finding.
click here for our turn any bead into a charm tutorial.

wire-wrapping can be used to link chains, to create an entire necklace out of beads, to attach loose beads as charms, & even more.
when making a necklace, or any project where you need to create loops on either side of a bead or finding, it is essential to cut a length of wire long enough not only to go through the bead, but to create loops as well as wrap the wire around the base of each loop where it meets the bead at least 2-3 times.
in this tutorial, we'll be showing how to link beads to both other beads & to segments of chain through pictures. for related projects, materials used, & video tutorials, scroll down.

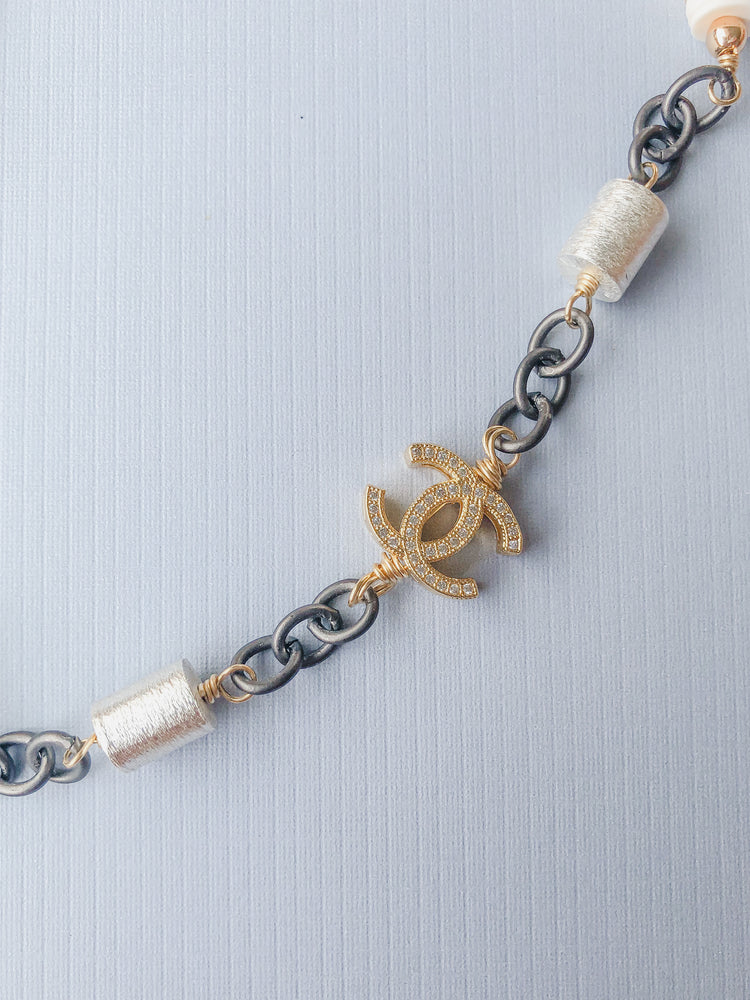
for the specifics about this necklace, check out the project: brushed gold + gunmetal chain linked necklace.
first, gather your tools - a wire cutter & a pair of round-nose pliers. for more info about the tools & the products we offer, scroll down!
to create the actual loops for your wire-wrapped beads or findings, take your length of wire & bend it around the round of your plier with your fingers. slide this bend onto a jump ring, chain length, or other connector before continuing. if you are creating a necklace entirely out of wire-wrapped beads, you will not have anything to connect your first bead to.
next, take your round-nose pliers & use them to hold both sides of the loose "u" shape you created. while they are held in place, use your free hand to twist the shorter wire tail around the longer wire.

snip the excess of the shorter tail, getting as close to the wrapped wire as possible. you can use pliers to squeeze or prod the remaining bit of wire if needed.
next, string your beads onto the remaining longer wire tail. once your beads are in place, use the pliers to grasp the wire. your pliers should be close enough to the beads that they are held in place (4th picture below).

move your pliers up a few mm. this can vary depending on how large you want or need your wire loop to be / how far up the plier you loop your wire. create a loose "u" shape by shaping the wire around the plier, like you did on the first side.
loop the wire through the next wire-wrapped piece if applicable. if not, continue to the next step.
 hold the wire with your pliers, & twist the shorter tail you have created around the wire between the loop & the beads.
once you are happy with the way the wire looks & the beads are secure, snip the excess chain.
continue this process until your piece is at the desired length.

this technique has essentially infinite uses, so don't be afraid to get creative!
supplies used to wire-wrap:
- non-tarnish wire
available in gold, silver, copper, gunmetal, & bronze.
24G: the thinnest wire we sell - good for beginners, earrings, delicate projects. 30 yards per spool.
22G: our most frequent choice, and our most popular sell! This wire is what we recommend for most projects. 20 yards per spool.
20G: this is our thickest wire. heavy duty and solid. 15 yards per spool.
- round nose pliers
available individually, in a 3-piece tool set along with flat nose pliers & wire cutters, or in our essential jewelry designer's tool kit, which includes just about everything you need to get started.
- wire cutters
available individually, in a 3-piece tool set along with flat nose pliers & wire cutters, or in our essential jewelry designer's tool kit, which includes just about everything you need to get started.
for more information, click the image below.

featured project:
coming soon
related projects:
labradorite + stick pearl necklace