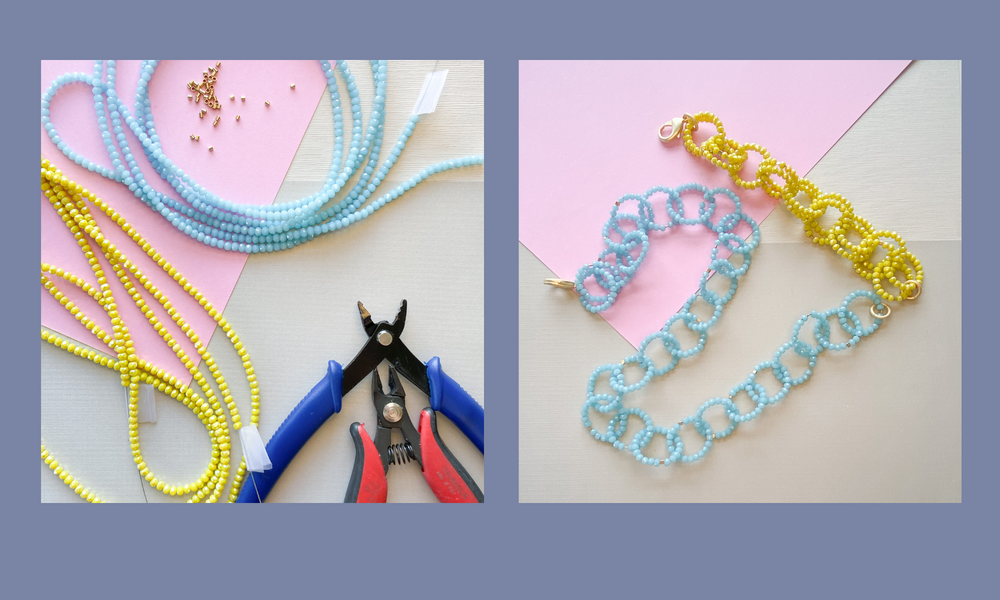
start with chain of your choice, cut to fit your wrist
string each pearl on a headpin and line up in your work space
using round nose pliers, hold the headpin about 4mm above the top of the pearl or other beads, with your non-dominant hand. using your dominate hand, bend the headpin away from you and back towards you under the plier.

take the headpin off of the plier and loop the headpin through your chain at the desired point.
twist the headpin tail around the base of the headpin in a clockwise motion. conscious to keep the wire in a neat coil, instead of a twist.
once you have the desired amount of wraps or coils, use your wire cutter to trim the excess wire.

continue wrapping each headpin, until you get the desired fullness of the bracelet. for this project, I was careful to evenly space them on alternating links, and making sure that they all hung on the same side of the chain.
once you are finished, you can attach your clasp. use an open jumping to attach the lightening bolt on the closed side of the lock. the lightning bolt lock will attach to the chain on the other side.

materials you will need for this technique:
24 Gauge Headpins, we used gold
Open Jumprings, we used gold