
Scroll to find supplies + instruction for several different Valentine's-inspired colorful, do it yourself beaded jewelry projects.
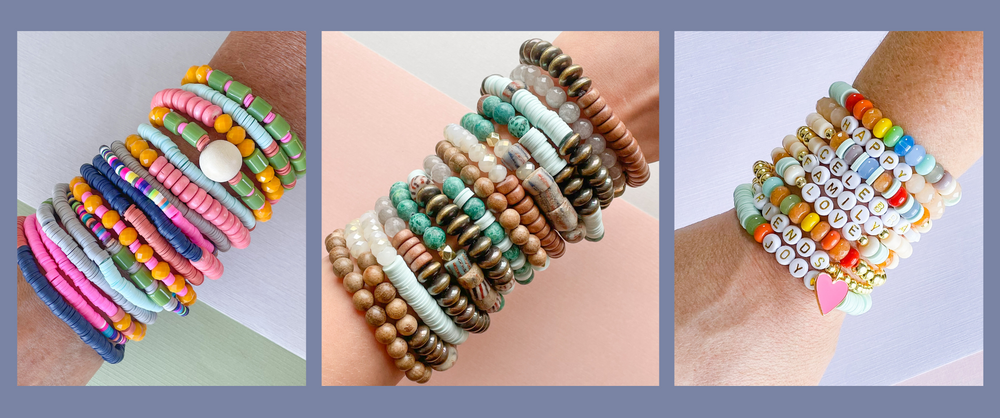
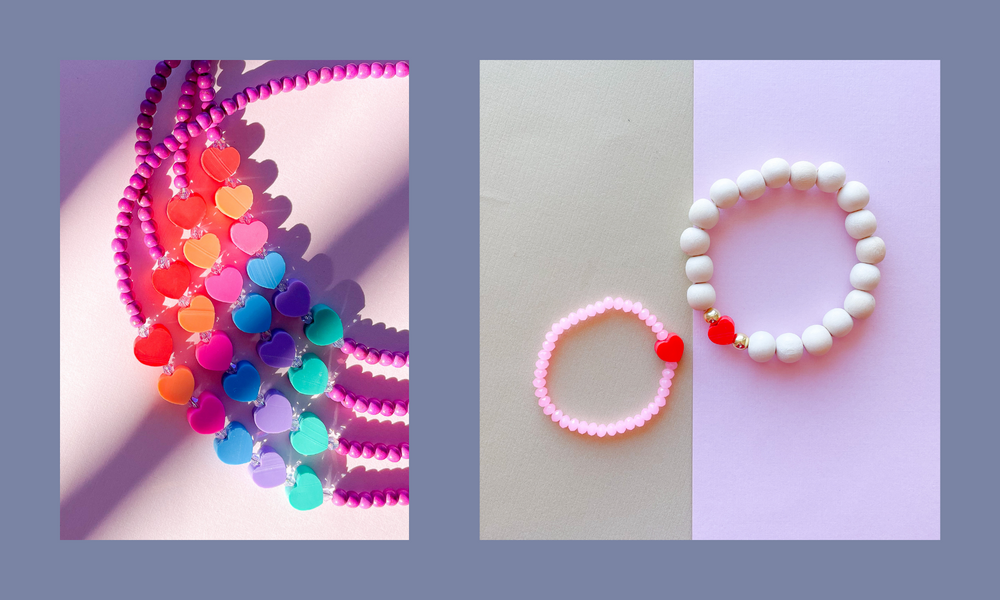
PROJECT 1: MOMMY + ME STRETCHY BRACELETS
WHAT DO I NEED TO MAKE MY OWN STRETCHY BRACELETS?
- Stretch Magic Stringing Cord
- Super New Glue
- one strand of 4mm Pink Punch or Hot Pink Faceted Chinese Crystal
- one strand of 8mm Beige Wood Rounds
- one strand of 10mm Multicolor Polymer Clay Hearts
- Sharp scissors or Designer Wire Cutters
- Scotch tape
- Ruler or tape measure, or just your wrist!
- Bead board or work surface
STEP-BY-STEP INSTRUCTIONS FOR MAKING STRETCHY BRACELETS
STEP 1: CUT YOUR STRETCHY CORD
On average, bracelets for adults need to be about 7-8" long. Chunkier beads take up more space, so the length of the design may need to be longer if using larger beads. If someone is petite, they may need a bracelet smaller than 7 inches, and some people are more comfortable with bracelets 9 inches long.
Even though your bracelet will be around 7-8 inches once created, you'll want to cut about a 12 inch segment of stretchy cord. Having room on both sides of your design makes tying the bracelet off much easier!
Use a piece of tape to mark off a stopping point for your design, about 2" from one of the ends of your stretch magic.
STEP 2: STRING YOUR BEADS / DESIGN
If using a bead board, create your design to fit within the 7" mark of the necklace placement or follow the 7" bracelet design space. If not, you can design your bracelet on any flat surface, and use a ruler to double check your length or check it against your wrist, especially if creating a child-sized bracelet! We recommend making your little's bracelet approximately 5" but if you are able to measure their wrist that is definitely ideal!
String your design onto your stretchy cord, keeping in mind that if you are using small beads, the knot may be visible. If your design features larger beads or beads with larger holes, try to string the design in a way that these beads are on either end of your stretchy cord, providing an easy hiding place for your knot!
STEP 3: TIE OFF YOUR BRACELET
Once your design has been strung, all that's left to do is secure your bracelet. Taking either end of the stretch magic in each hand, begin making a knot the same way you would tie your shoelaces, pulling the cord tight in each direction. Proceed with a solid double knot, triple if you prefer.
The bracelet should be somewhat taught, but not so tight that you fear popping it! Below is a quick video tutorial for how to tie off your bracelets. For a full length video with audio instruction, keep scrolling.
STEP 4: SECURE WITH GLUE
Use your Super New Glue to place a small dab of glue on your knot, and be sure to pull your knot away from the beads if possible. The goal is to avoid getting glue on anything except the knot. You'll get better with practice!
STEP 5: CUT OFF THE EXCESS STRETCHY CORD
After your glue is no longer tacky, pull the knot away from the beads again and use sharp scissors or cutters to snip off the two tail ends of your stretchy cord.
Carefully slide your larger bead over the knot if applicable, and your knot is hidden!
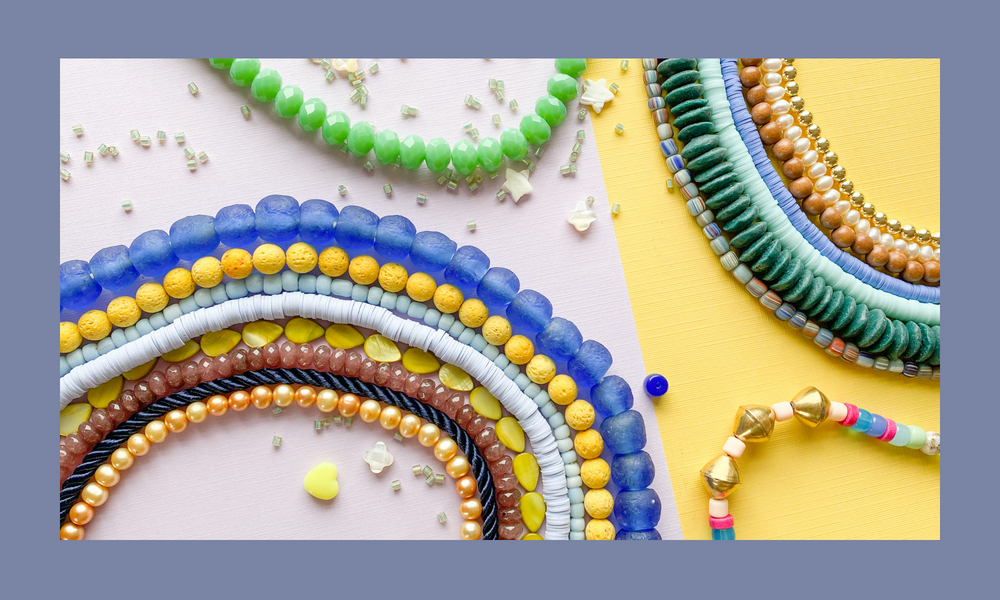
PROJECT 2: RAINBOW HEARTS SHORTIE NECKLACE
WHAT DO I NEED TO MAKE MY OWN COLORFUL HEART NECKLACE?
- one strand of 10mm Multicolor Polymer Clay Hearts
- one strand of 4mm Purple Magnesite Rounds
- one strand of 3mm Translucent Lilac Faceted Crystal Bicones
- one pack of 2mm Gold Fill Crimp Tubes
- one pack of 12mm Shiny Gold Lobster Claw Clasps
- one pack of 8mm Shiny Gold Soldered Jump Rings
- 0.018 Beadalon Bright Stringing Wire
- Crimping Plier
- Designer Wire Cutter
- Scotch tape
- Ruler or tape measure, or just your neck!
- Bead board or work surface
STEP-BY-STEP INSTRUCTIONS FOR MAKING A RAINBOW HEART SHORTIE NECKLACE
STEP 1: CUT YOUR BEADALON
For this necklace, you'll need approximately 20-25" of Beadalon to make a 15'20" necklace. This will give you us plenty of room for crimping and securing your final piece. Simply use your wire cutters to snip the Beadalon where you would like, and remember that having extra is always better!
STEP 2: STRING YOUR BEADS / DESIGN
Before stringing, we recommend using a piece of scotch tape to prevent the beads from sliding off of the wire without creating a permanent closure.
String on a few inches of the purple magnesite beads, followed by a pattern of polymer heart beads and small crystal bicones. These translucent lilac bicones serve as greats spacers for the hearts. We used six polymer hearts, but you can use less, more, or different colors if desired.
Once your hearts are strung, check the length of the necklace and readjust the magnesite if needed. Remember you will be stringing the opposite side to match.
Finally, string on the rest of your purple magnesite on the other side. It's best when both sides have equal amounts of beads so the necklace "sits" with the focal beads centered. If needed, you can add or remove beads from both ends of the necklace by removing the tape from the first side.
STEP 3: CRIMP
Once your design has been strung, choose one side to crimp off first. Secure the opposite end of the necklace with scotch tape. String on a 2mm Crimp, followed by an 8mm Jump Ring. Loop the beadalon wire around the jump ring and back through the crimp. String it through several of the magnesite rounds as well. The jump ring should be able to move and turn, but still be secure.
Hold the jump ring in your non-dominant hand, and pull the tail of the beadalon (through the crimp and several beads) to tighten and adjust. Next, use your crimping plier to flatten the crimp bead on the beadalon. Once secured, use your wire cutters to snip off the excess beadalon cord.
At this point, prepare your chain extender by cutting the chain to size and opening an end link with crimping pliers and/or flat nose pliers. We used about 3” of chain, but the length can be adjusted depending on your preference.
For the other side, you'll repeat the process, but creating a secure loop becomes a little more tense since the first side of your necklace is already secure. For this side, you'll only need a crimp and your lobster claw clasp.
For a quick reminder on how to crimp, check out the video below. For an in-depth tutorial, complete with step-by-step pictures, check out our Crimping on Beadalon LEARN page here.