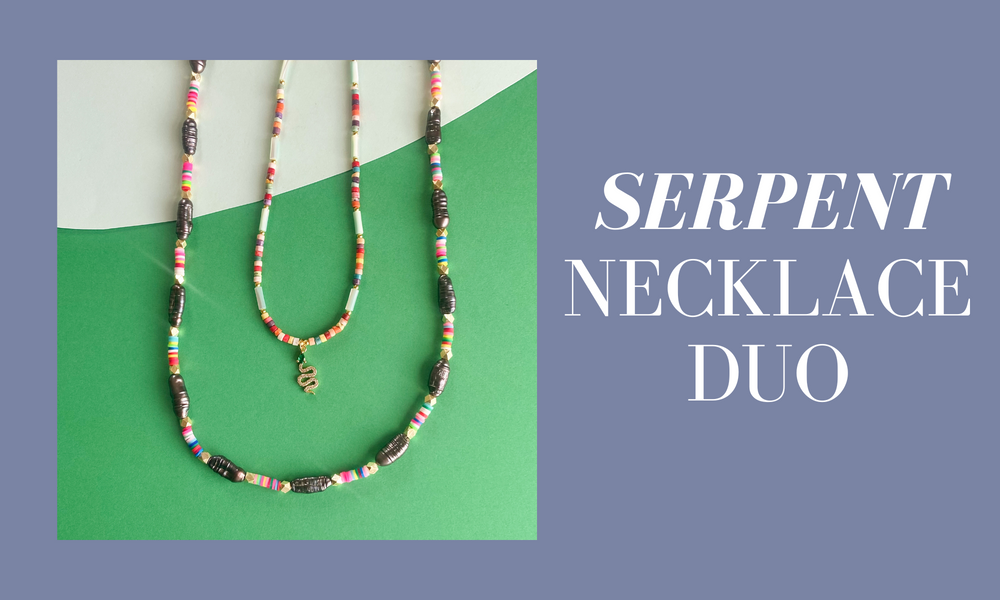
Today in our jewelry making tutorial we are doing something that so many of y'all have asked about: wire wrapping beads or chain linking. It's one of my favorite techniques because you can take a fairly average bead and give it a whole new life.
I'm going to show you how to make a beaded chain.
This technique is when we use a pliable wire to make those loops on either end of the bead and interlock those wires together to create our own chain or beaded chain.
Don't be intimidated by this jewelry making technique! This is one of the main reasons I created my Youtube channel and my personal brand to begin with: to inspire you and to teach you how to make jewelry. I wanted you guys to see how easy this technique can be. And I dont want you to be intimidated when you get started with a new technique like this. I'll show you exactly how to do wire-wrapping and chain linking. Let's get started!
How to make a beaded chain with wire wrapping
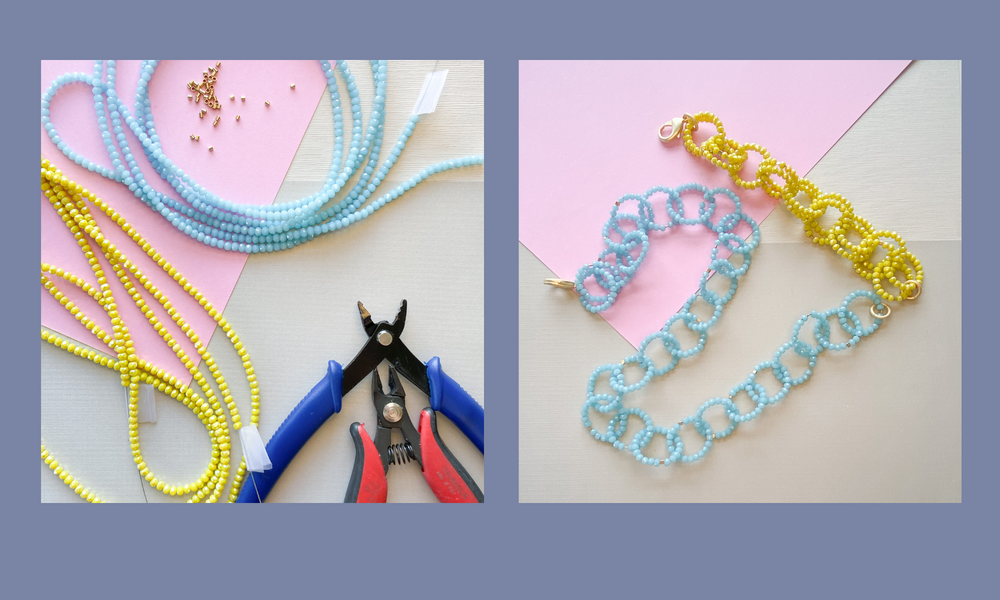
Wire-wrapping supplies
Here's what you'll need:
Shop this video:


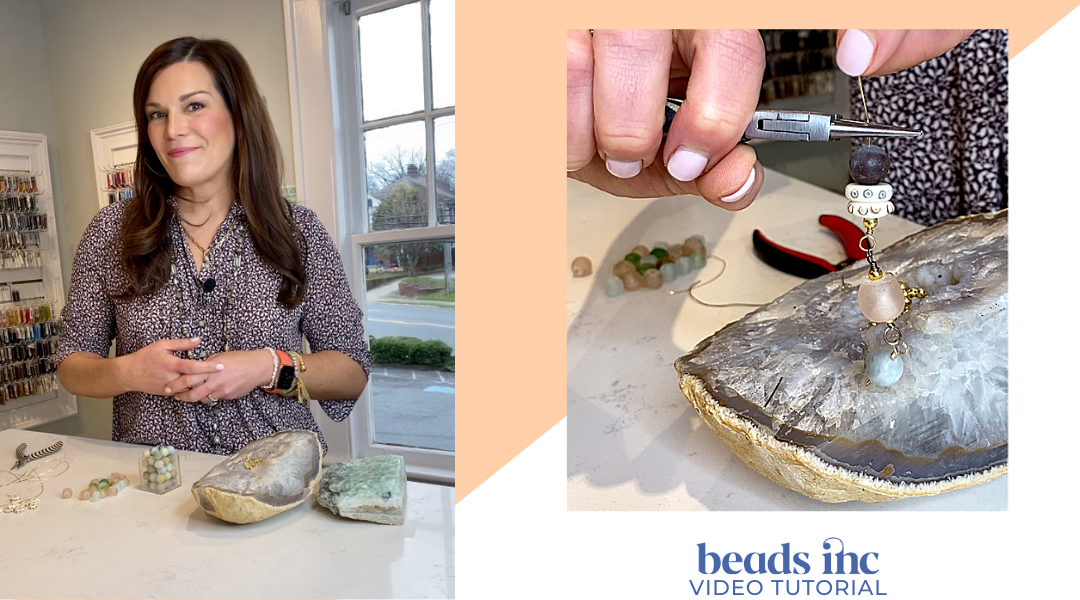
Wire-wrapping and Chain-Linking Tutorial
Step One
Step One: First, start with a piece of wire that's 4-6 inches long. Especially when you're just getting started, having more than enough is really nice to work with. Once we cut our piece that's nice and long, we are going to use our round nose pliers. Hold the pliers closer to one end of the wire than the other. Grasp it with your pliers about half way down the nose. Get a firm grim on the pliers with your dominant hand. Wrap the short end away from yourself and then back towards yourself, coming up under the pliers. So it creates a nice 90 degree angle. So we have a loop and then a little arm sticking out to the side at a 90 degree angle from the rest of the wire underneath.
What I am going to do to streamline all of this for you, is to run through all of these little pieces that I've created and make those 90 degree loops on them so you can see. So the way that I wrap is: hold my pliers closer to one end than the other. Give yourself an inch or so above the pliers, to create nice generous loops by wrapping down and around. And then Im going to loop on the outside, away from me, around the round nose pliers. Then take it off the pliers and set it down.
So I'm going to show you guys a few times just to help you get the hang of it.
Step two
Step two: As a second step we are going to pick up one of the looped wires from step one, I'm going to pick it up and put my pliers back through the loop and then just "twist-tie" that loop closed. Really watch where that coil is being formed. What a lot of people will do is not watch where the coil is formed, so then end up with something that is stretched out. You want to really pay attention and push up as you wrap to get a really close wrap. Then take the pliers off of the loop and snip off the extra using wire cutters.
Step three
Step three: Then I'm going to add my first bead here by stringing it onto the wire. And then I'm going to pick up my pliers again placing them on the wire (halfway down the nose) just above the bead. Then wrap the wire by coming up under the pliers with a little bit of breathing room. Then wrap the end of the wire around the wire to create a coil. This makes it feel similar to wrapping a head pin and makes it easier to form that downward coil. Take it off of your round nose pliers and then snip off the extra with wire cutters. Be sure to get a nice close cut.
Now, we've got a bead with wire loops on either end. We are going to use those to make the beaded chain.
Step four
Step four: Pick up my black wire. This is where it starts to feel like chain linking. Link this wire through my first loop on my bead and cross it over. Then I like to let it hang up side down to let gravity help me out. Hold the pliers across the loop on the black wire to hold it in place during the twisting. Twist, twist, twist.
Now I'm going to use my wire cutters to trim. One way to get a nice flush cut there is to turn the silver side towards where we want to cut and snip off our extra.
I'm going to really mix up the beads I'm using for this wire wrapping: some sea glass and some Amazonite stones.
I'm going to use my pliers again, just above those beads I've just added to the chain. Wrap the wire down and around the pliers. This is where it starts to feel like a headpin again. Then I'll wrap it away and back towards me to create a nice pretty coil.
Next, I'll use my wire cutters again. The way we get a nice cut on this is not by shearing it or coming at it from any of these different directions, it's by pointing down towards the bead and the coil, really getting close to where we want to cut.
We are ready to add our next piece - one of the wire we previously wrapped. We are going to interlock it with the wire wrapped bead and hold it upside down again. Hold straight across the loop with the pliers so the crisscross is above the tool's nose. Twist, twist, twist. Two or three times to create that nice pretty coil with the wire.
Again, this 22 gauge wire is nice and soft and easy to work with.
Step five
Lastly, we are ready to connect our next series of beads with the wire. I put in a few beads this time. Now give the wire a little breathing room above the bead and place the pliers. Wrap the wire away from you and then back towards you. We want to use nice strong hands here. Give it a really strong twist tie effect, and watch the wire wrap to create that coil, two or three times. Then snip off the extra.
That's how you connect beads with wire for wire wrapped, chain link jewelry.
Summary: How-to make a beaded chain with wire wrapping
As a summary, here are the steps for how to connect beads with wire wrapping:
- Create a small 90 degree loop in pieces of wire that are 4-6 inches long
- Thread a bead on to one of the looped wires. Wrap the end of the wire up and around several times to create a coil.
- Use another looped piece of wire and thread it through the loop on the first bead. Twist the wire around itself to create a tight coil
- Thread this wire with beads and repeat the wire wrapping and twisting to create a coil on the other end of the beads.
- Repeat this process of connecting beads with wire until you have your desired length of beaded chain.
You can see in the video that I'm being very random with my beads, but you can also create a long beautiful chain and bead necklace that uses all one type of bead for a beautiful look.
You get a much richer look when you wire wrap a bead. So if you are stuck wondering what to make with a bead, or you have a whole handful of random beads that you dont know what to do with, this wire wrapping technique really takes it to the next level by creating a chain link necklace or bracelet.
If you've been a little bit timid to try wire wrapping to connect beads, don't be afraid to give it a try. You can create beautiful chain link jewelry with this technique.
As always, thank you for watching my jewelry making tutorials!

Check out all of Christine's tutorials here.
Pin this video to save it for later: