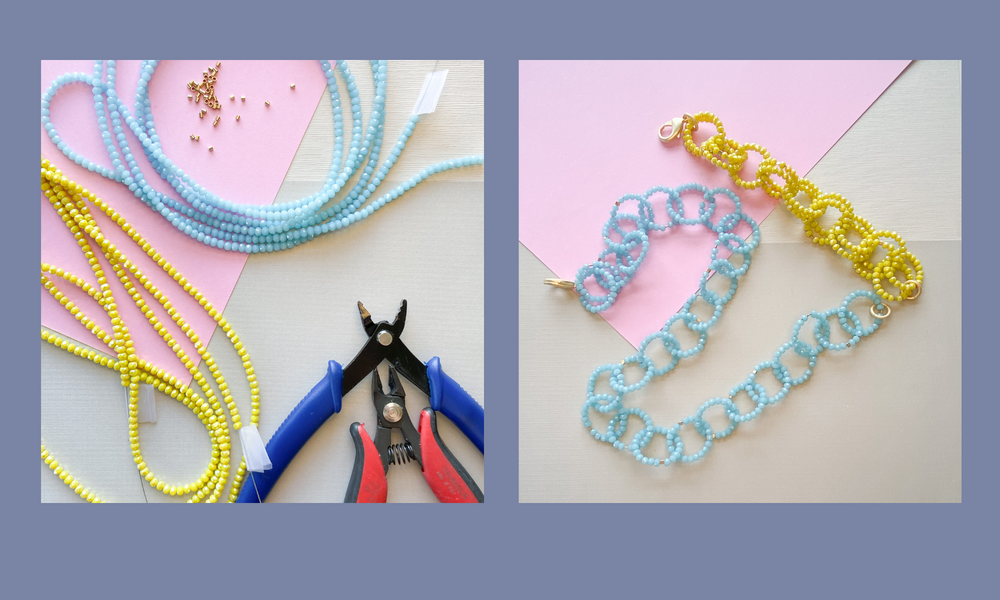
Do you create custom jewelry to sell? Or maybe you’re looking to get into the DIY jewelry business, but not entirely sure how to get started?
Since I started my store, Beads Incorporated, over a decade ago, I’ve learned a lot of do’s and don’ts to market my products and pieces.
The biggest tip I can give you? Great photography! But it’s not as simple as having a good camera. Read on for my pro-tips of photographing your jewelry line:
The two most important words when it comes to photographing your jewelry: natural light!
I can’t stress enough what a difference natural light makes when taking a picture of anything! And if you’re wanting to sell your jewelry line, you can bet your pictures taken in natural light will get way more attention than those taken under fluorescents.

And while natural light is always best, be sure to test out different times of day. For instance, at my store, I know it’s best in the morning on the west side of my building. I don’t even have to go outside, I can take pictures right by the window! However, at home, I like to take pictures outdoors in the late afternoon on the east side of my back yard. It really is all about trial and error!
Use different backgrounds for clarity and to set the mood.
Another important aspect of photographing your jewelry? Interesting and appropriate backdrops. For instance, a classic strand of pearls and a bohemian mix of wood and bone would not use the same kind of background. For the pearls, I might use a marble and gold cheese board, matching the elegance of the beads. For the wood and bone, I might drape it among my garden for a more earthy vibe.

It’s also important your background doesn’t detract from your jewelry. If you have a really busy necklace, maybe don’t choose a busy background. The whole point is to make your jewelry stand out, not get lost among its backdrop.

Good items for backgrounds include pretty cheese boards, wood cutting boards, linen boards, old books, and even plants! HomeGoods is my go-to shop for all of the above.

But not just any background will work.
Not all backdrops are suitable for jewelry photography, even if they’re attractive all on their own.
As beautiful as mirrors can be, they don’t really make sense for photographing jewelry. It’s difficult to tell where the beads and mirror begin and end. Certain colors can also bring your jewelry up… or down. Black/dark brown backdrops honestly suck the life out of jewelry rather than illuminate it. And as much as you’d think a neckstand or neckform would showcase necklaces well, they actually hide the back of them, so you miss out on the entirety of the piece.
Play around with different backdrops before you settle on which ones make your particular line shine 🙂
Add some character and tell a story with knick-knacks from your home.
I love adding props to my pictures such as skeleton keys, succulent trimmings, geodes, or small ceramics. They add interest without taking away from my piece. They also help set the mood for your photography session and piece.

Give yourself a variety of angles and lighting during your photoshoot. Set up your props so that they add character to your jewelry, but aren’t in a distracting place or position!
You don’t need a fancy camera—your smartphone will work!
Believe it or not, I don’t use an expensive camera to photograph my jewelry. I use my iPhone 8+ for everything.
The Dual Lense camera is amazing. When you take photos, make sure to try both photo mode and portrait mode, and don’t be afraid to get up close and personal with your subject matter. I take many shots from several different angles. And if you can, get a phone with a lot of storage space. I think right now I have 13,000 photos on my phone!

Editing your pictures is also key. A lot of bloggers have great tutorials on photo editing with VSCO and other great apps and have a very cohesive formula that works for them. Mine is pretty simple. I just use the photo editor on Photos.
Here’s the basic formula: Once you’ve selected the photo you want to work with, choose “Edit” in the top right hand corner, then select the little dial shaped icon at the bottom. In the bar where it says “Light,” select the dropdown arrow. Go into brightness, and brighten your photo about 4-5 tick marks to the right of center. Your brightness should read at a .26-.35 in your light menu at this point. Now for the “Color” bar. It’s the next one down. I play with that one a little bit, not opening the different attributes like saturation and contrast, but rather just using the master slider. I will sometimes slide to the right through about 3 shades to intensify color. Just personal preference and depends on the photo. But ALWAYS brighten!! I promise, all of those bloggers and jewelry designers you are drawn to—it’s because they have light, bright photos!
Looking for more inspiration?
If you enjoyed these tips on how to photograph your jewelry, be sure to check out my other blogs, and I also have a ton of tutorials with different techniques to enhance your creativity!