shop all of our stretchy bracelet kits here.
diy stretch bracelets
stretchy bracelets are a perfect place to begin your jewelry designing journey. however, that doesn't mean that stretchy bracelets aren't acceptable creations for experienced or professional jewelry makers. the options are limitless - whatever you can think of, you can make.
STEP 1: cut + prepare the stretch cord
to start off your stretchy bracelets, gather your beads, stretch magic, super new glue, cutters or scissors, & tape if you have some on hand. cut a length of stretch magic a few inches longer than the length of your wrist. no measurements required - simply wrap the cord around your wrist & eyeball a few extra inches.
we only recommend using the stretch magic brand. shop here.

tape off one end of your stretch magic with a piece of tape, as pictured. this should be approximately two inches away from the actual end of the cord.
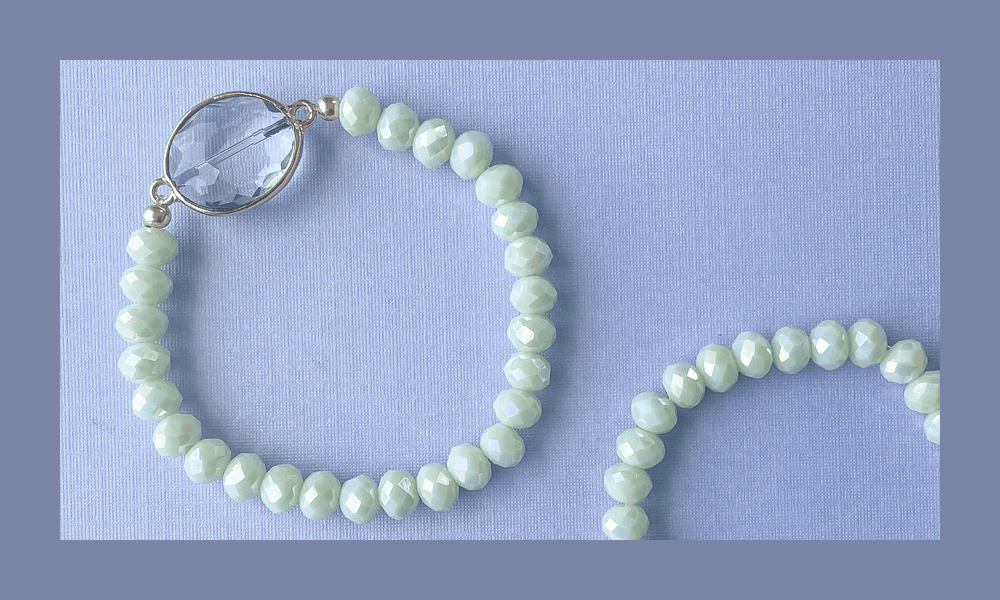
STEP 2: string your beads
design your bracelet and string your beads however you want! if you're making bracelets with one of our kits, and even if you aren't, feel free to use the pictures on the listings or our social media posts as inspiration.
once you are finished stringing, it's time to tie off the bracelet. if you are making multiple bracelets at a time, you can tape off the other end of the stretch magic & tie all of the bracelets off once you are done stringing as many as you want.
STEP 3: tie the bracelet
hold the un-taped side carefully with your index finger & thumb, & hold the taped side of the stretch up with your other hand, so that you are able to grasp the stretch underneath the tape.

use both hands to hold the stretch close to the beads & stretch it out by moving your hands away from each other. do this several times to ensure that the elastic is activated & you will able to knot the stretch as close to the beads as possible, creating a more seamless look.
next, tie the two opposing ends of the cord together in a standard knot, & then a double knot - 3 total! when you do this, put as much pressure on the stretch as you comfortably can, so that there will not be excess material showing.

STEP 4: glue (our secret)
hold both sides of the stretch with your thumb pressing onto your index finger, & use super new glue to apply a small drop of glue onto the knot. let dry for a few seconds before allowing the stretch to relax.
finally, cut the two loose ends of the stretch as close to the knot as you can with your cutters or scissors. if possible, it's great to finish your bracelet by a bead with a larger opening, so that you can easily tuck the knot into the bead.
it's really that easy! you can make tons of these. they stack nicely, are super customizable, & super comfy.
click the images below for a variety of video tutorials, if that's more your speed.
if you're looking for an easy way to get everything you need, check out our stretchy bracelet making kits. each kit comes with all the supplies you need (stretch magic, glue, and beads) to make 12 or more bracelets! click here to shop.