
looking for supplies? scroll down!
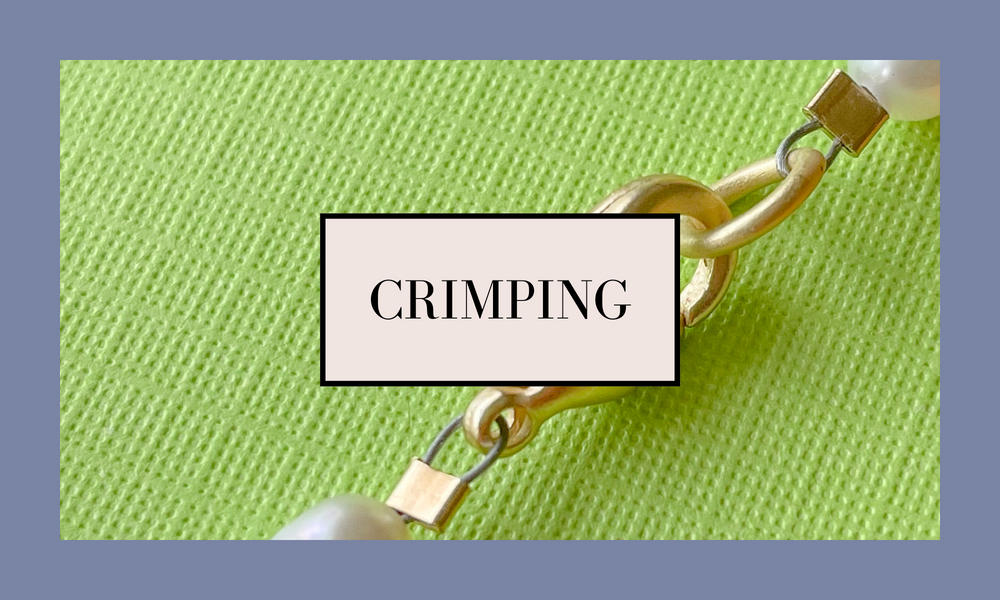
crimps are the little flat (or round) findings that you typically see at the ends of a necklace, connecting the clasp to the necklace itself.
crimping is not done with all types of necklaces, but is necessary for any necklace made out of beadalon stringing wire, which is what is used for most necklaces you see where the material the beads are on is not visible.
in this tutorial, we will be using crimps to finish attach a jump ring & lobster claw clasp to a necklace strung on beadalon. our necklace features 2mm gold hematite rounds, which are quite small, so it was a natural choice to end the necklace with one of these beads on either side. this gives a smoother transition to the clasp visually, but is not necessary. we usually like to add small beads to the ends of the necklace even if there are no small beads used in the design of the necklace. we are flat-crimping our crimp beads, which is our typical style of choice. this gives the crimps a square look.
*always cut your beadalon wire, stretch, or other stringing material with extra room for your clasp*
once you have finished stringing your design, string one crimp bead on the open end of the wire, approximately 2" from the end. string on your closure & loop your wire back through the crimp bead.
slide the loop closer to the clasp so that the loop is not noticeable, but the clasp still moves freely.
use the tip of your crimping plier to flatten your crimp into a square. you can also use a flat nose plier to do this.
thread your wire tail back through about one inch of beads, after an inch, you can cut the extra wire with your wire cutter.

then slide all of the beads down toward the finished end & remove the scotch tape. string your second crimp bead on the wire. next string a closed jump ring, or the other part of your closure.
 loop your wire back through the crimp bead & string the wire tail back through an inch or so of the beads. use this tension to help you get the wire loop close to the closed ring, or the other part of your closure.

once the loop is to your liking, use your crimping plier to flatten the crimp bead into a square. you can also use a flat nose plier to do this. cut the extra wire with your wire cutter, & you're done!

practice makes perfect, but now you have this essential skill to make your own jewelry!
supplies used to crimp:
- beadalon
available in sizes 0.012, 0.015, & 0.018 in two different lengths (30 feet or 100 feet).
the numbers in the beadalon listings refer to the thickness of the wire in millimeters. out of the three options, 0.018 is the thickest & therefore the wire that can carry the most weight. choose your wire size based on the piece you plan to create.- crimp beads
we carry 2mm tube crimp beads & 3mm tornado crimp beads, both available in gold fill or sterling silver.
we use 2mm gold fill tube crimp beads in the above tutorial, which is usually our go-to look. choose tornado crimps for a more noticeable look.
- crimping plier
available individually, or in our essential jewelry designer's tool kit, which includes just about everything you need to get started.
this tool is designed specifically for flattening (& rounding) crimp beads to secure your creations!
- wire cutters
available individually, in a 3-piece tool set along with flat nose pliers & round nose pliers, or in our essential jewelry designer's tool kit, which includes just about everything you need to get started.
- closures
with this piece we opted for a simple lobster claw clasp & jump ring, which we carry in may different colors, finishes, & sizes. when selecting your closure, if you choose a clasp that will attach to a jump ring, make sure to select a soldered jump ring. this refers to a jump ring that has been sealed shut. it is stronger than an open jump ring.
specifically, we used a 15mm shiny gold lobster clasp along with a 8mm shiny gold soldered jump ring.
we also carry toggle clasps that are perfect for a more dramatic look - or for ease of closing the clasp. these should be attached to your beadalon necklace the same way that the lobster & jump ring are attached in this tutorial.