In my 10+ years of beading, I’ve learned a thing or two about the best space to complete projects. Fluffy rugs love to “eat” seed beads. Puppies don’t make the best bead helpers. And colors just don’t look the same under a lamp at night as they do in natural light the next day.
All this to say, I’ve finally developed the perfect place in my home for bead projects. It was really easy to do (it only took a weekend!), and now, I’m so happy while creating my projects.
Here’s my step by step process for designing your bead haven:
Start off by organizing your beads by color.
Most people begin any beading project by considering the colors to use. So it makes sense to have your beads organized by color!

You can use an organizational box, ziploc bags, or hang strands from hooks! Whatever makes your life easier will help make your creativity flow!

Then, organize your beads by intended project.
When an idea pops into my mind, I like to “sketch” it out in my mind, then make baggies of everything I’ll need for that project. Then, when I am ready to sit down and create, I’ve already got the “bones” of my project in place! It makes the creative process that much easier and also ensures I don’t use those beads for a different project by accident!

I like to use ziploc bags, but really any type of storage system will work!
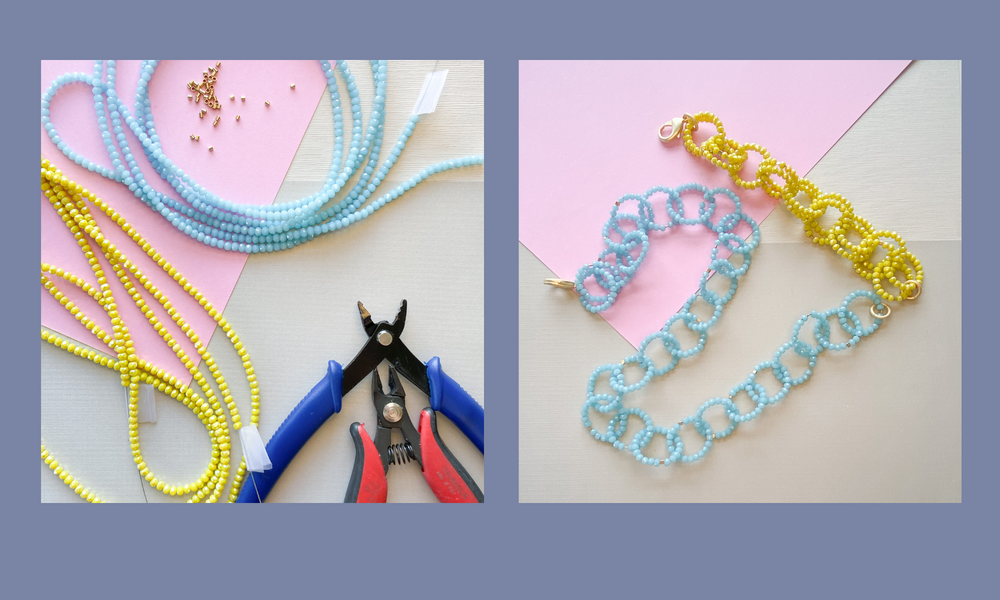
Have designated dishes for crimps, french wire, and other commonly used items.
Beaders know crimps are a must-have! That’s why I have a crimp-only dish, full of my favorite little findings. French wire is also something I use quite often, so I keep it handy.

You may also want to make places for jump rings, lobster claws, and other favorite clasps. Basically, the things you use the most, make sure you have them easily accessible!
Make sure your workspace is suitable for beading.
Beads can get lost really easily. It’s important to have a designated space for your projects. If possible, have a large, open table near a window so you have lots of natural light. If that’s not an option, you can buy a daylight lamp (used by many artists and crafters) to ensure that you see the correct color of beads, even at night!

And if you don’t have table space, you can use a large box or basket to store your projects so they aren’t disturbed too much!
Every once in awhile, do some “spring cleaning.”
I preach holding onto jewelry (especially vintage!) because you never know when it will come back around. After all, it doesn’t take up much room. BUT, after cleaning out my craft room and bead stash, I realized there were certain things I was hoarding “just because.”

If you feel like you have those, move them out of your primary stash. I guarantee they are clouding your creativity and making you feel a weird sense of obligation/guilt/confusion/etc. I recommend starting a time capsule bead box and putting it away in the attic to discover in a few years or donating those items. You’ll see your other beads in a great new light once you get the “stuff” out of the way!
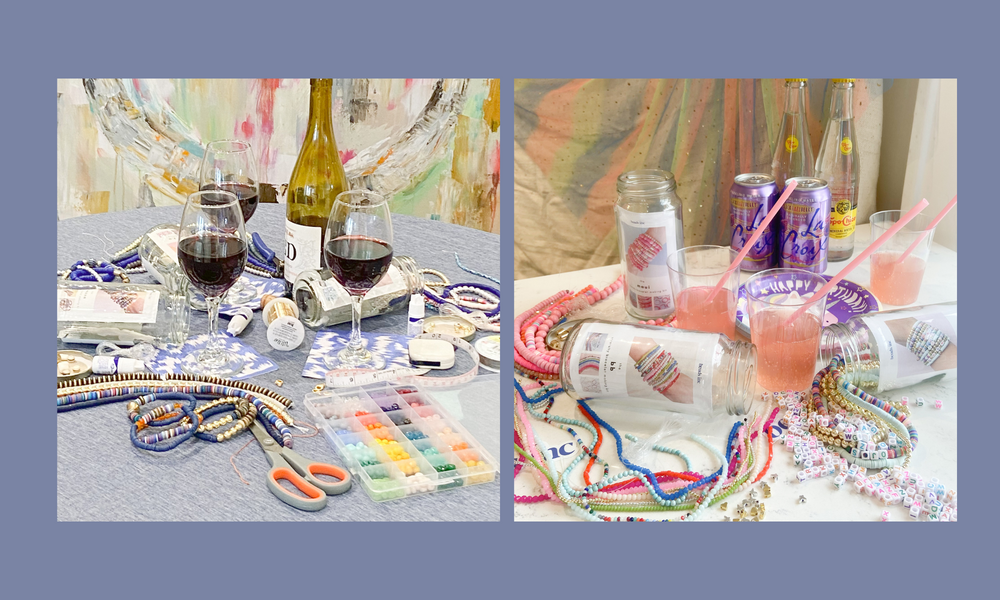
Surround yourself with things that give you inspiration.
My beading room is my haven. On the walls, you’ll see artwork that I love, magazine clippings that give me joy, and trinkets that have special memories attached to them. All of these things put me in a “happy place” that makes my projects that more enjoyable–and full of inspiration.
Maybe you need to include speakers in your space because music brings you joy. Think of the things that make your creativity bloom (like a beautiful bouquet?) and add them to your beading space!
Get to beading!
Once your space is “just right,” I promise you’ll love beading even more!
If you’re looking for even more inspiration, check out my video tutorials, where I give step by step instructions on some of my favorite techniques!